Thursday, October 20, 2011
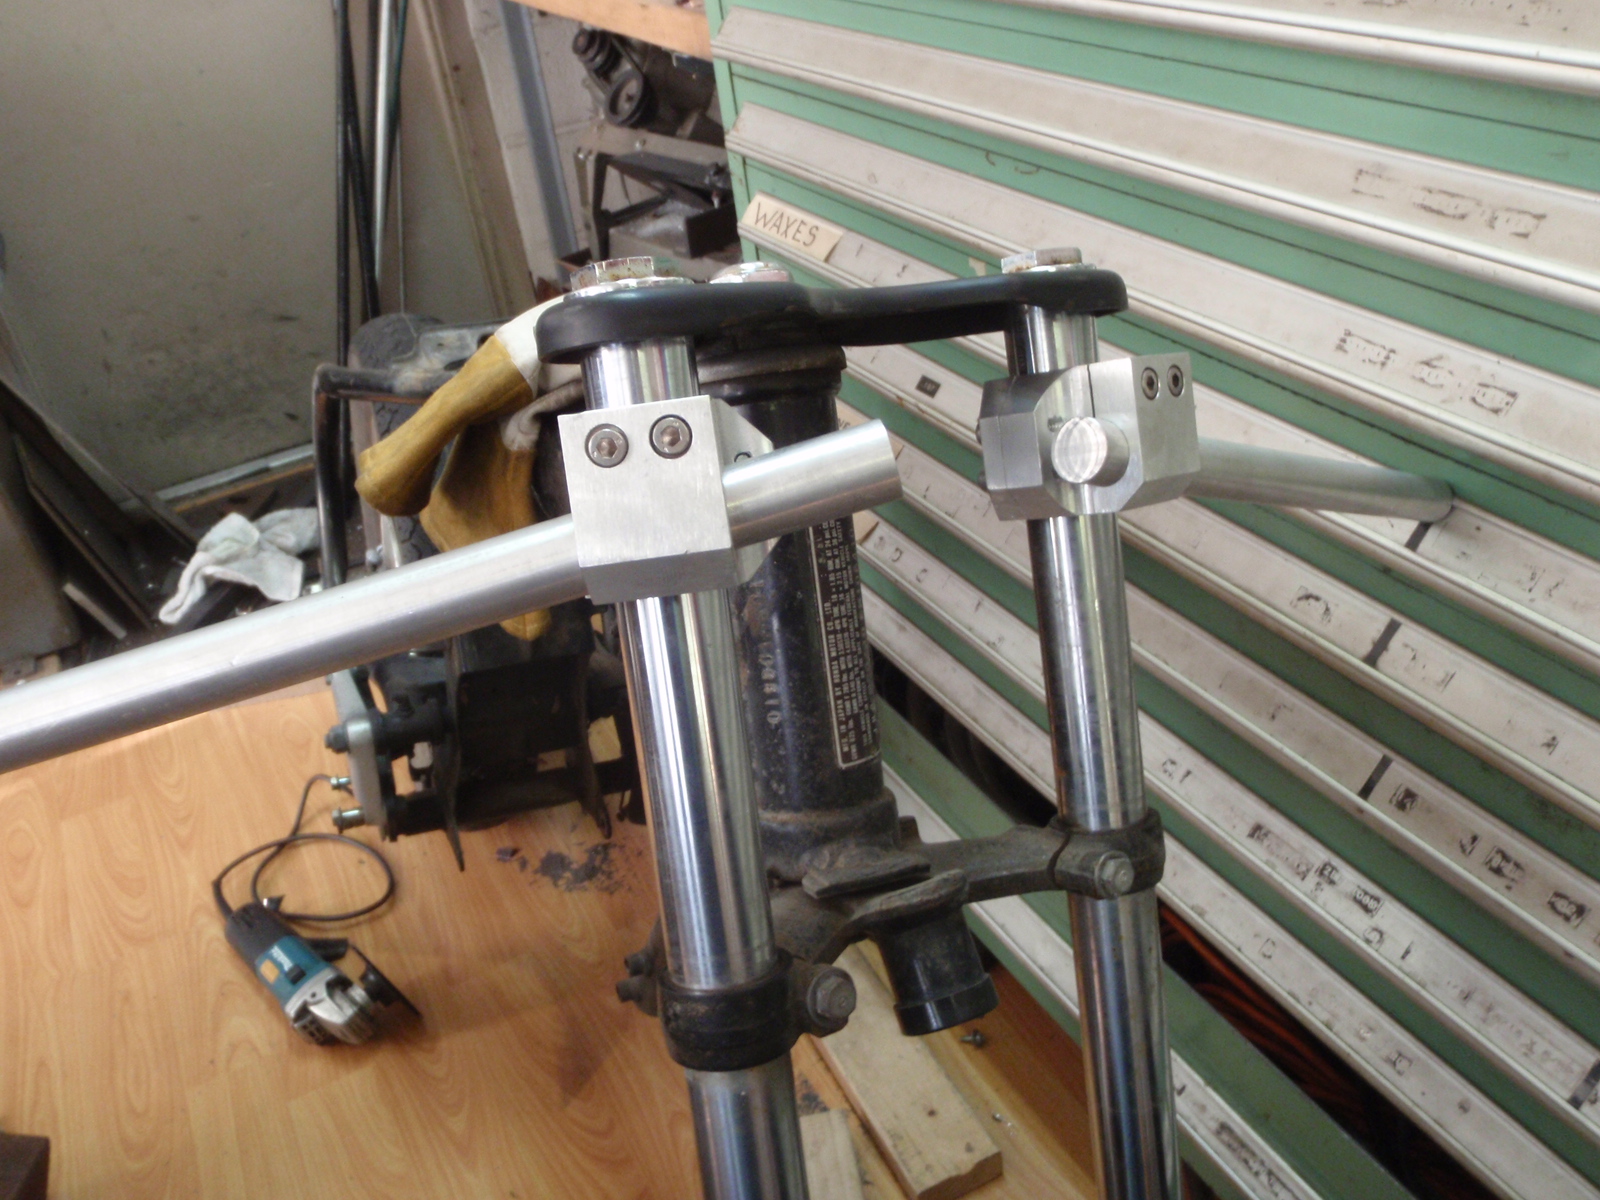
HONDA CM400 CAFE BUILD - HOMEMADE CLIPONS

HONDA CM400 CAFE BUILD - Frame Modifications


I torch bent a tube forming the loop and cut two shorties making up the sub-frame. I fish mouthed the tubes and started to mock-up the layout.

All the parts fitted and in place, Time to tack and lay beads.

The finished frame modification. Yet to come are any mounting points , like battery box, tail piece mounts and turn signal mounts. These will come later as I start do the mock build and get all the components back on.
Wednesday, October 19, 2011
HONDA CM400 CAFE BUILD or Crap To Cool Crap
 |
| "Hey bro...your piece of crap is almost as cool as mine...!" |
 |
| Three valve head and a honda smooth 5 speed gearbox |
Tuesday, October 18, 2011
CAFE VIRAGO BUILD - Aluminum Tailpiece


Thursday, September 15, 2011
A MESSAGE TO MY TWO FOLLOWERS AND...THE REST OF THE WORLD
Dear Followers, Thank you for your generous loyalty, and your support which I consider charity, because I know how busy you are (all two of you). Thank you also to those who visit this blog, (the rest of you). I implore you to SPREAD THIS LINK like a venereal disease. Don't be shy, be shameless. Please, become a follower and tell your friends. It will make you popular and cool as well! Besides, who doesn't love to look at other people do all the work to make cool bikes, while you sit on your ass and click your mouse! I also must insist, that should I become delinquent in posting regularly, please make nasty and caustic comments to "inspire me to post more often. After all, it's not like I don't have nine billion other (better) F-n things to do! So, if I become lax, complacent, or even lazy, give me ur best Dutch, your best ball busting harassment to get me to post. Name calling will hurt, but I will understand that you're simply starved, and it is I, that am depriving you, of the next posting. Like a babe whose tit has run dry, please, cry out to me! ok...
Now I would like to give you a preview of what's to come in future posts, just to wet your appetites (and entice you to become followers and spread this blog like a...well) Coming up is;
•1967 Moto Guzzi Ambassador rat rod/bar hopper
•1981 Honda CM400 cafe ... ewwwww
•1977 BMW R75/7 cafe race bike
•1978 Kawasaki KZ400 street/tracker
•1956 BMW Rennsport replica racer
•1976 Aermacchi 350 factory race replica
So stay tuned, stay alert, and become a follower. Its easy to do, and you can drink alcoholic beverages while doing so. Thanks again for visiting, and come back soon! Ride hard, ride often, and keep the shiny side up!
Now I would like to give you a preview of what's to come in future posts, just to wet your appetites (and entice you to become followers and spread this blog like a...well) Coming up is;
•1967 Moto Guzzi Ambassador rat rod/bar hopper
•1981 Honda CM400 cafe ... ewwwww
•1977 BMW R75/7 cafe race bike
•1978 Kawasaki KZ400 street/tracker
•1956 BMW Rennsport replica racer
•1976 Aermacchi 350 factory race replica
So stay tuned, stay alert, and become a follower. Its easy to do, and you can drink alcoholic beverages while doing so. Thanks again for visiting, and come back soon! Ride hard, ride often, and keep the shiny side up!
VINTAGE RACE BRAKES

 | ||||
| completed brake plate |


I am selling these brake drums and they are priced a' la carte, choose your bezel material (stainless, bronze, aluminum), screen material (bronze, brass or stainless) brake arms, linkage, or just a base drum and plate. Front or rear drums, I do both. If you would like information on pricing and options, please contact me at: philippeck@earthlink.net and just type Q 4 RACEBRAKE in the subject box.
CAFE VIRAGO BUILD - Some Aluminum Bits

The stock clutch actuator cover is a hideous chrome job that had to go, after all, the engine is the focal point on this machine. the goal is all aluminum with black paint, so all the chromie bits MUST go. I machined an aluminum cover out of 1/2" plate with the appropriate reliefs on the reverse side and left an end mill finish on the top. The picture below shows the part installed on the engine.

The stock Virago air box and filter are gone of course, so an air horn was the obvious way to go. The intake port enters the monocoque backbone on the left hand side, and cleverly uses ports in the frame to deliver air to each carburetor. I machined a very large velocity stack in aluminum that bolts onto the frame and will fit a filter element inside the frame port. Check out the scale with the penny next to it. Frankly, it looks bad ass. I like it.


Subscribe to:
Posts (Atom)